Initially, to set up an Android development environment in our system, we need to install the following components manually by downloading from different sites.
- Eclipse IDE
- Eclipse Plugin
- Android SDK
To make an Android development environment setup process simple Google introduced a new Android IDE called Android Studio.
The Android Studio will contain all the required components like Eclipse IDE, Eclipse Plugin and Android SDK so we don’t need to download the components separately.
Android Studio is the official IDE for Android development and it’s based on IntelliJ IDEA software. It’s available for Windows, MAC and
We can download the latest version of Android Studio from the following URL.
In this tutorial, we are going to explain how to install android studio on a windows machine which is having windows 10 operating system.
Download the latest version of Android Studio from above URL and launch Android Studio.exe file by double-clicking on it.
The initial android studio setup screen will open like as shown below in that click Next to continue for further steps of environment setup.
![]()
Now we need to select the required components to set up an Android environment. Here we selected all three components (Android Studio, Android SDK and Android Virtual Device) and click Next like as shown below.
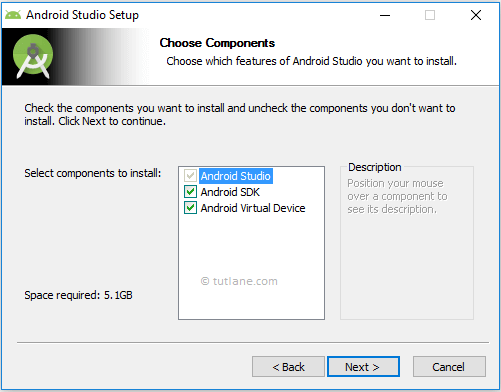
Now we need to agree on the License agreements to proceed further, click on I
![]()
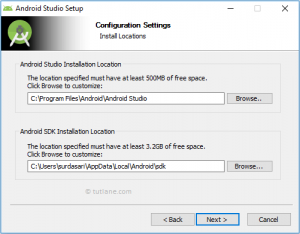
Now we need to specify the local machine drive location to install Android Studio and Android SDK. After selecting the location path to install required components, click Next like as shown below.
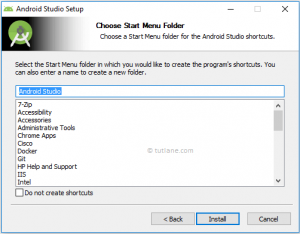
Now select the start menu folder to create a shortcut for android studio and click Install like as shown below.
Once we click Install button the installation process will start and click Next after completion of installation like as shown below.
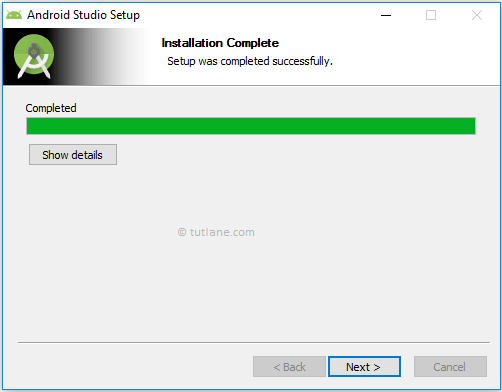
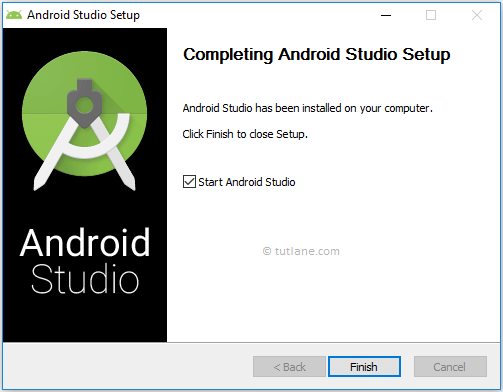
After that, it will show installation completion wizard in that click Finish to launch android studio like as shown below.
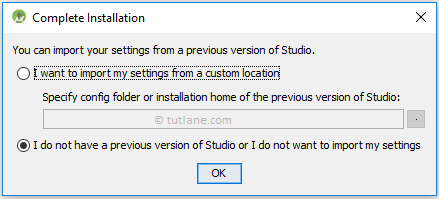
While launching Android Studio it will give you an option to import settings from the previous version of the studio. In case if you don’t have any previous version, select the second option and click OK like as shown below.
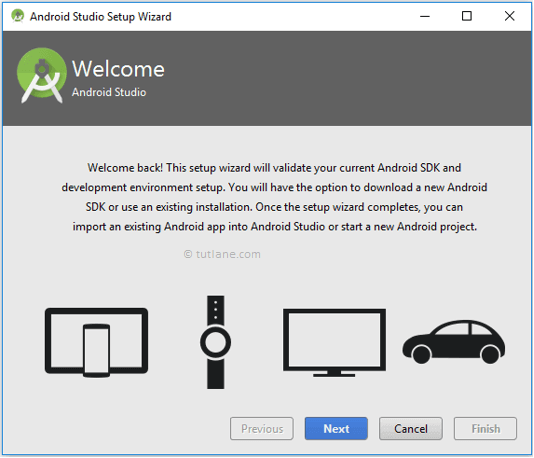
Now android studio will open a welcome wizard window in that click Next to validate our current Android SDK and development environment setup like as shown below.
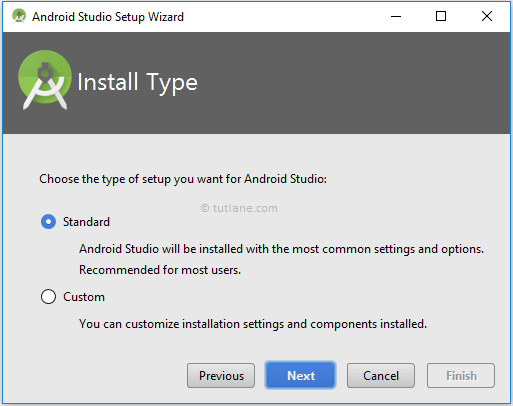
Now select a Standard installation type and click Next to install common settings and options like as shown below.
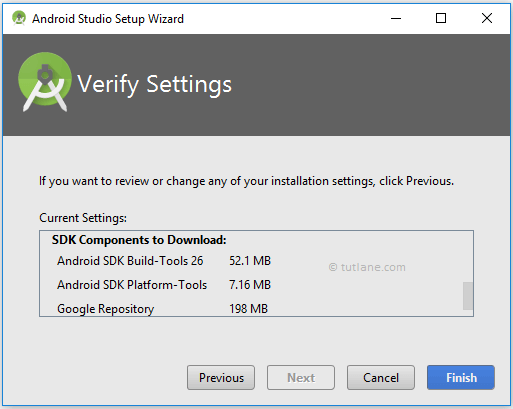
Now verify settings and click Finish to complete android studio setup process like as shown below.
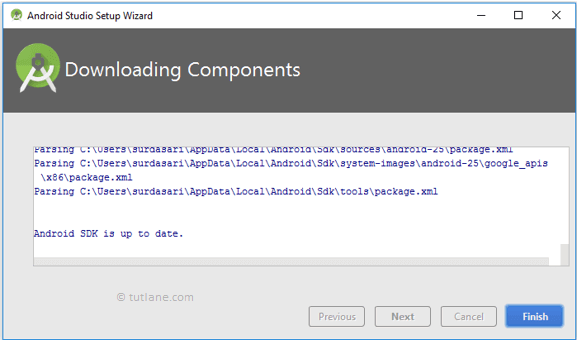
After completion of required components installation click on Finish like as shown below.
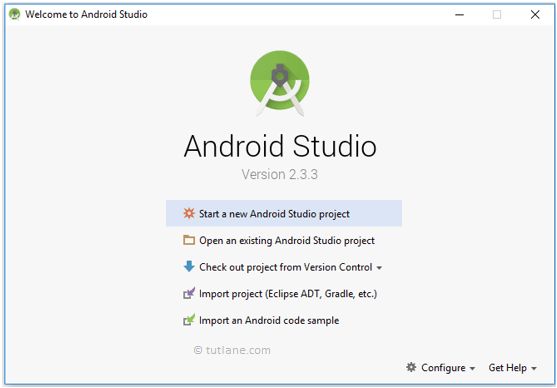
After completion of all required components installation, we will be able to see Android Studio welcome window like as shown below.
This is how we can set up an Android development environment on a windows machine which is having windows 10 operating system using android studio IDE.
